To travel full-time with 6 kids we needed a way to provide beds at night, but floor space during the day. We considered a standard 5th wheel bunkhouse, but those beds are on the short side, cramped, and require special bedding for the odd sized/shaped mattresses.
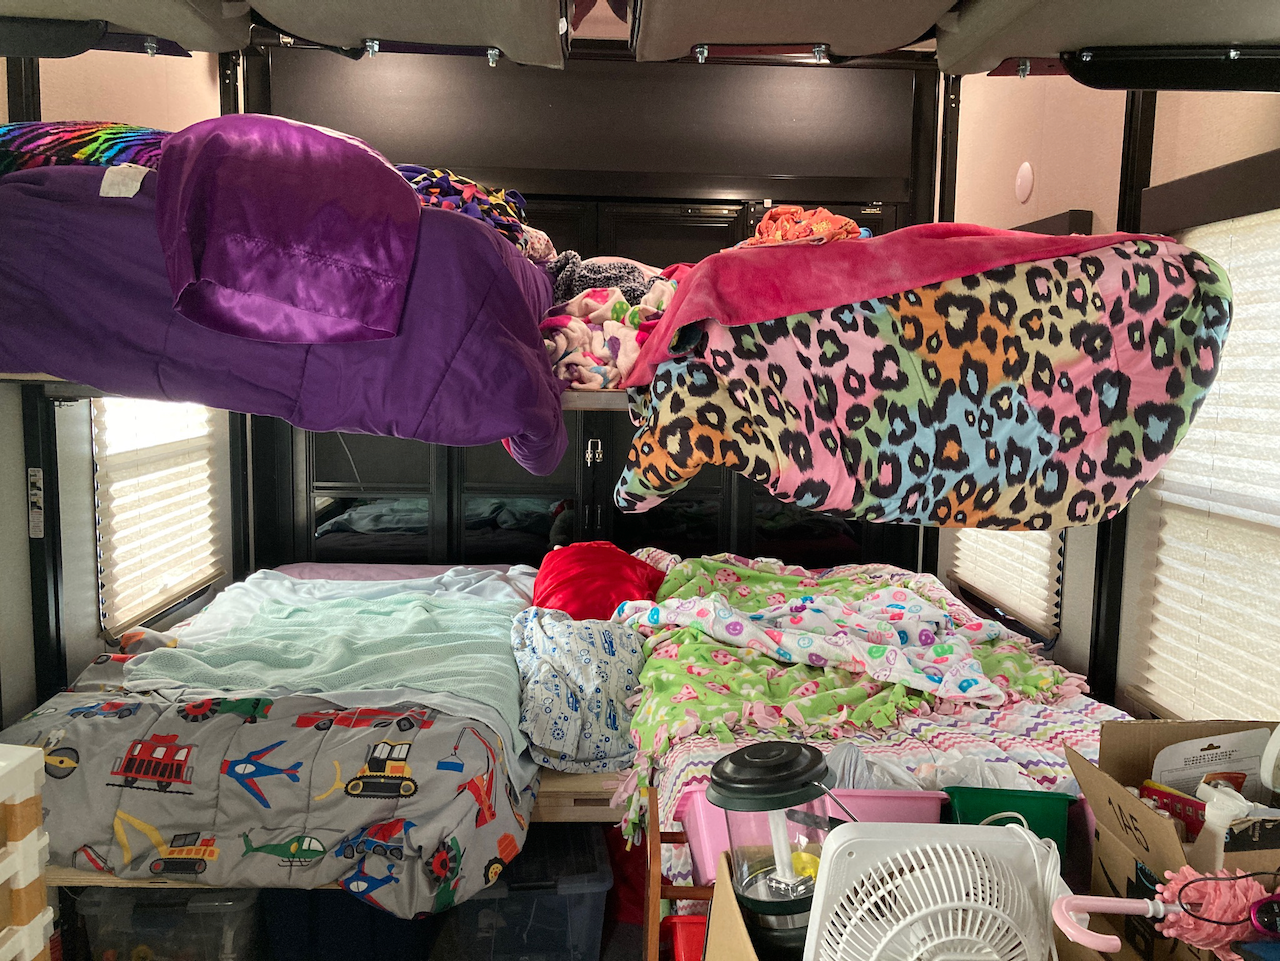
We settled on a Grand Design Momentum 398M-R as it’s the only camper we found that has 2 sets of HappiJac beds, giving us 4 queen sized beds in the garage area for the kids to sleep in. Since sharing a bed can be annoying, and we already had twin sized mattresses and bedding we modified the stock queen beds to support 6 twin beds. We later modified the remaining queen bed into a giant shelf. By using our existing beds we were also able to bring our existing bedding from home, which gave the kids an anchor to make the transition to life on the road a little easier. It also gives each of the kids a small space to customize and call their own.
The pictures below detail the sequence of how we constructed the bottom bed frame and the lumber we used. For the top twin beds we simply used bunkie boards from standard bunk beds and screwed them into the top bed frame.
Base frame
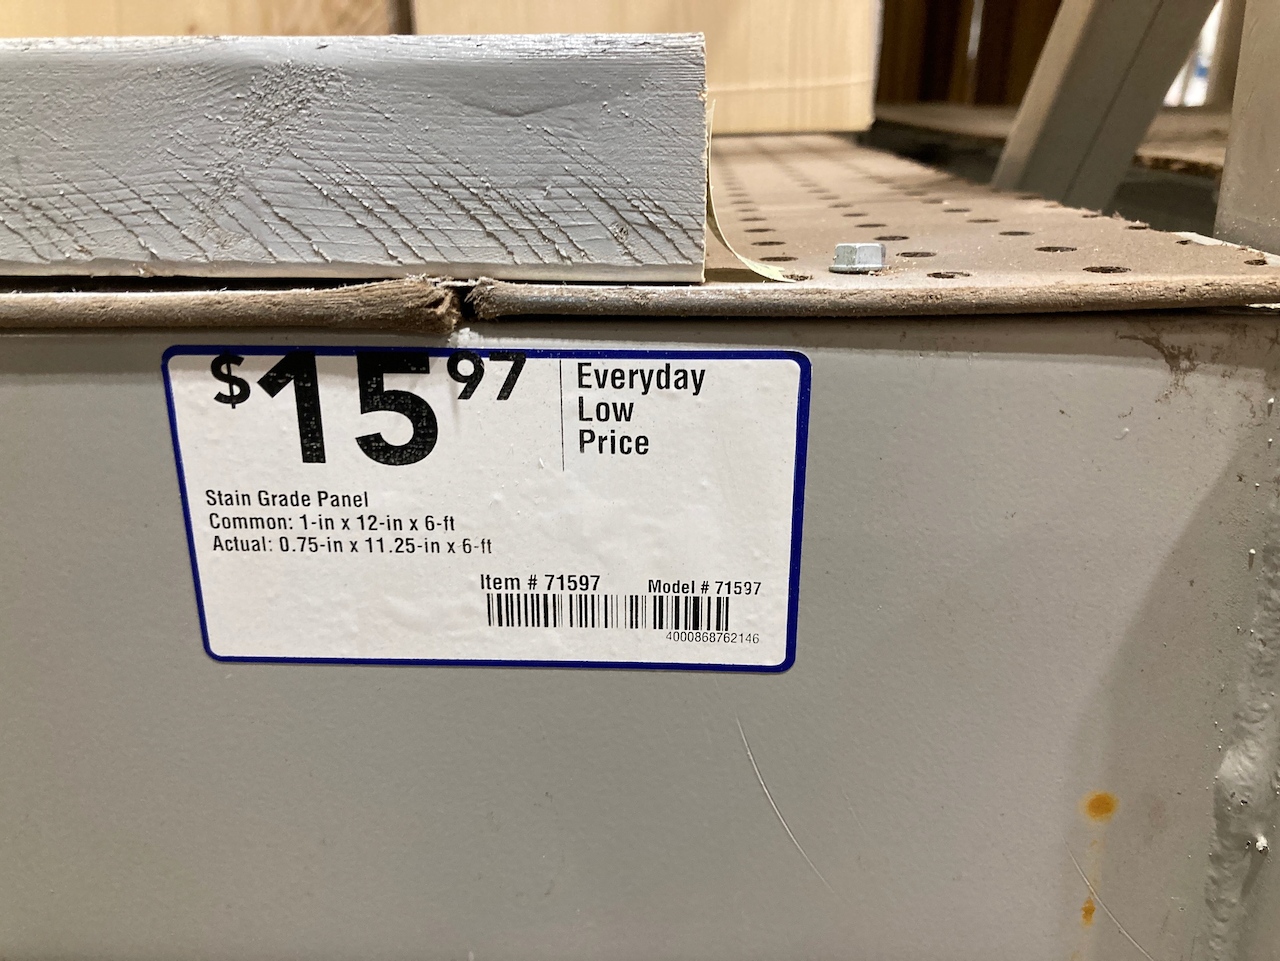
The basic frame for the bed platform are a couple of 1/2″ x 12″ x 6′ boards on both sides. We first removed the couches from the HappiJac frame, and then bolted the boards directly onto the portion of the HappiJac frame that held the couches.
Base frame – driver side
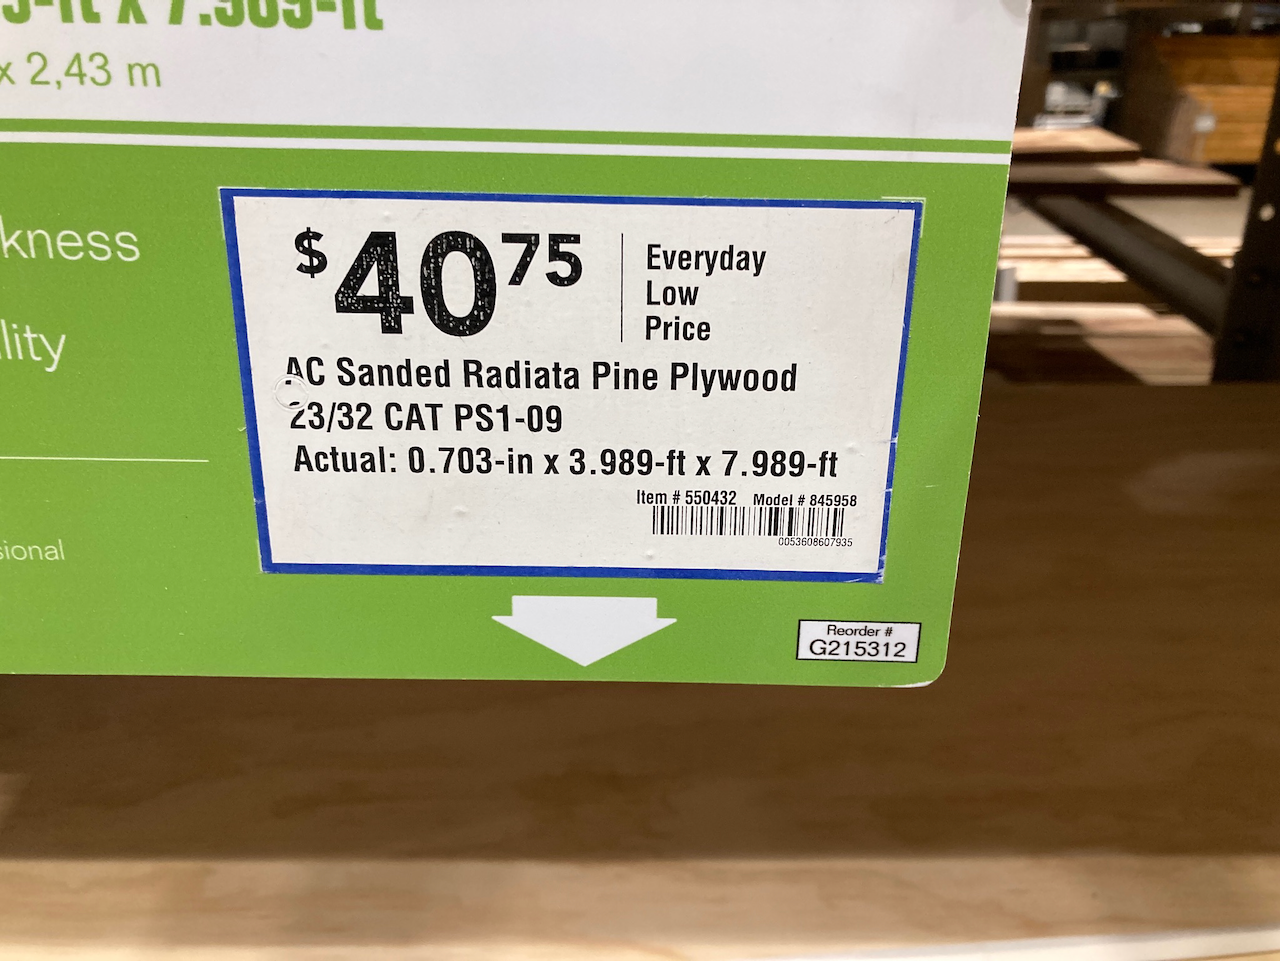
Another view of the frame from the other side. The board on top is a 4′ x 8′ x 3/4″ plywood cut down to 2′ x 92″. We intentionally left an inch or two between the bottom boards.
Notch
A notch had to be cut out of the main platform boards since the HappiJac mount sticks out from the wall about an extra 1/4″. Similar notches had to be cut in all four corners where the frame touched the HappiJac mount.
Adding the main platform
The board we’re adding is 4′ x 8′ x 3/4″ plywood cut down to 92″ long.
Ladder notch
The largest portion of the platform has a 14″ x 14″ section cut out of the middle on one side to allow room for the ladder once the beds are added.
Drilling holes
Up until now the frame is just setting on the HappiJac frame. We now drill holes to mount the boards to the HappiJac. The Colorado sunset is beautiful.
Bolted in tight
Flathead bolts were added from the top down, then lock nuts put in place. The frame isn’t going anywhere now.
Boards for reinforcement
A pair of 6″ wide boards were added in the middle to reinforce the center where the two top boards meet.
The center boards were cut down to fit the ladder notch.
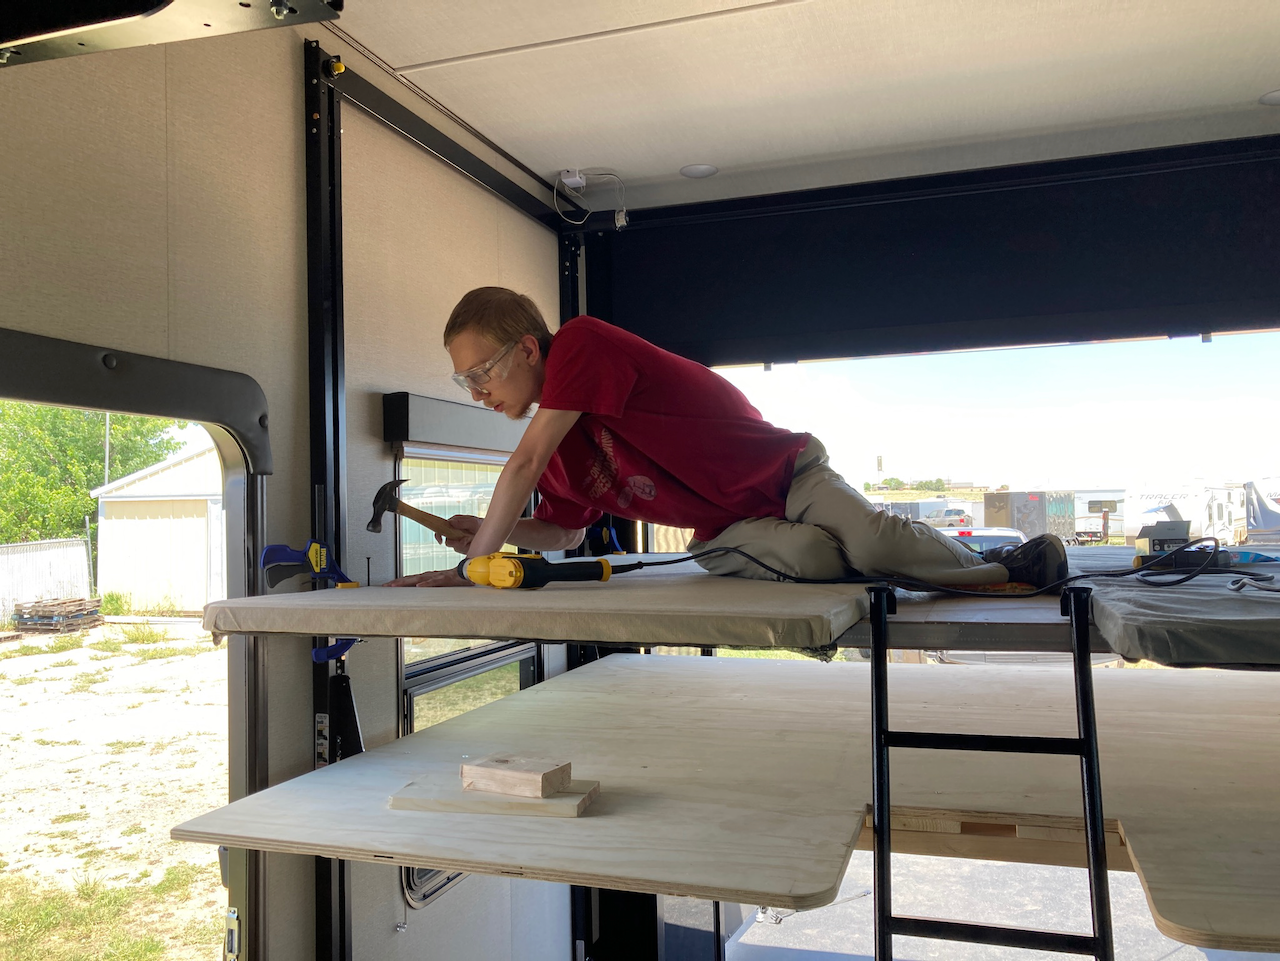
Lots of screws
The two layers of boards were saturated with screws to hold them together for extra reinforcement. Screws went from the top down to ensure no stray screw tips would scratch the mattresses.
More reinforcement
5 2×4’s were screwed in from the bottom up to further ensure the platform could hold the weight of mattresses and kids. The screws weren’t long enough to go all the way through so it was safe to go bottom up.
Weight test
Making sure the frame could hold weight (and taking a well deserved rest).
The top bunkie boards were screwed into place. It’s important to have about 14″ of space between them so the ladder has room.
Bunkie boards were used on the top bunk of both HappiJac beds.
1×12’s were used for reinforcement on the bottom of the frame.
2×4’s for reinforcement.
1×6’s for reinforcement (see a theme?).
The primary base frame. Thinner boards would allow more space between the bunks, which would allow a little more bedding or thicker mattress. We chose strength instead.
The bottom bunk on the way up. There isn’t a lot of space between the bunks at this point, so it’s important to move things like the pillows between the beds.
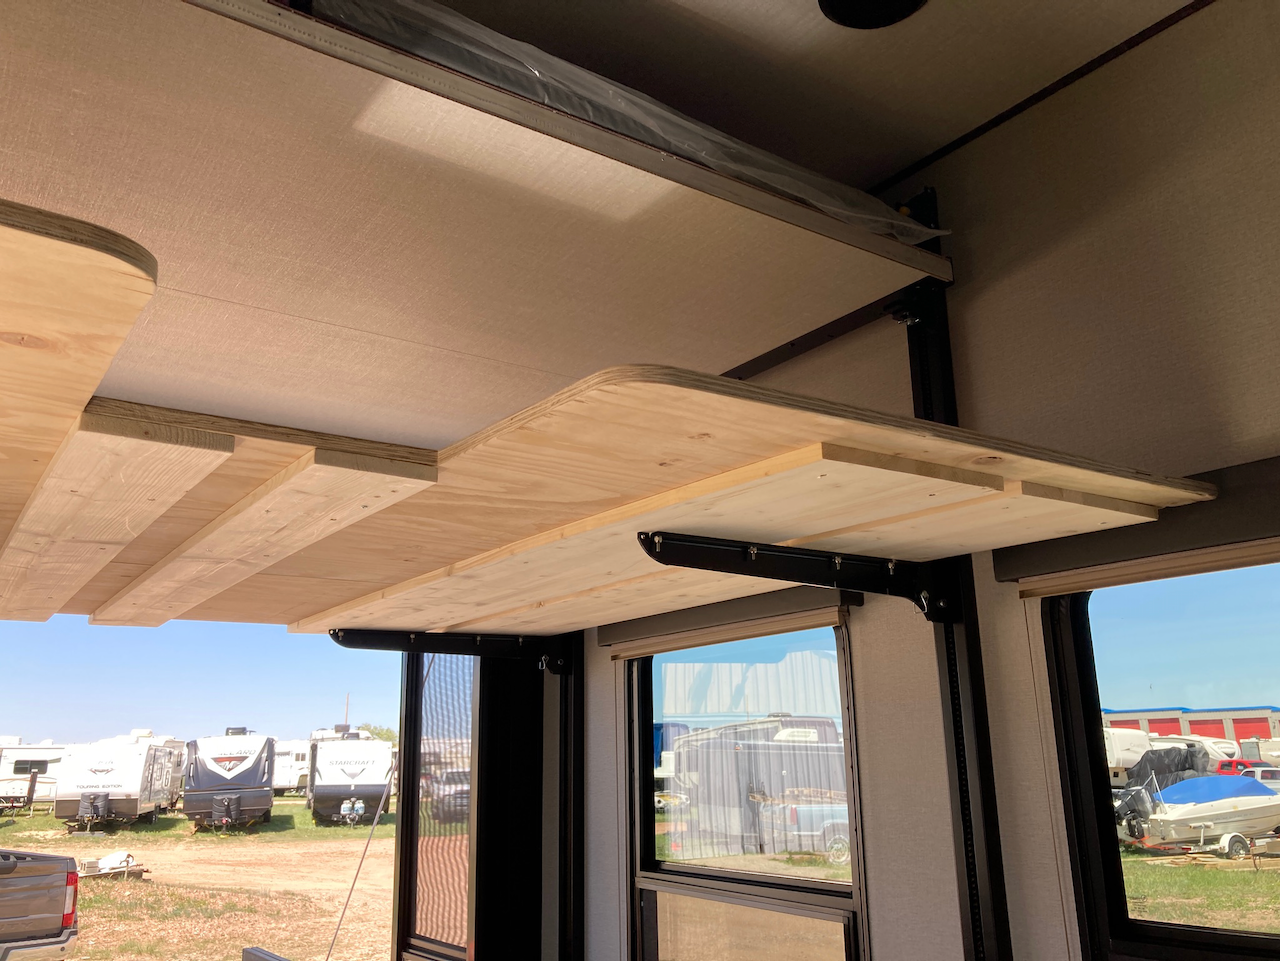
Rear beds in the down position.
The forward beds in the down position.
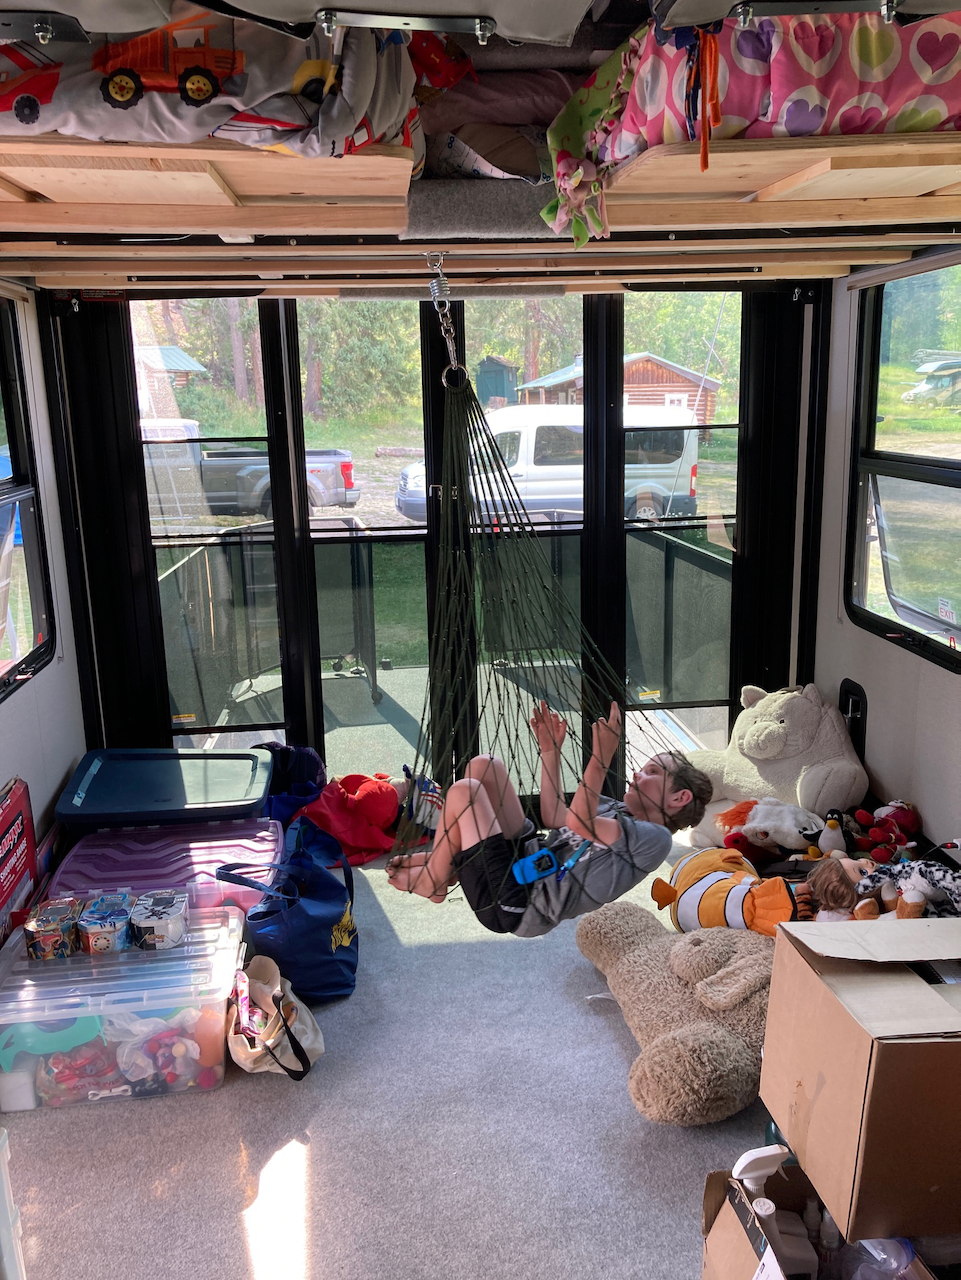
The resulting frame is strong enough that we can put a sensory swing underneath it, and the swing can hold 2 kids. We unhook the swing and store it next to the washer and dryer when not in use.
During the day we put the beds up and can set up a table for schoolwork and meals.